Table of Contents
There’s something magical about creating a dessert that brings smiles to everyone’s faces. Imagine combining the nostalgic flavors of a classic treat with the simplicity of a no-bake recipe. That’s exactly what you’ll achieve with this guide.
Whether you’re a seasoned baker or just starting out, this step-by-step process is designed to be easy and enjoyable. With traditional ingredients and a modern twist, you’ll craft a dessert that’s as delightful to make as it is to eat.
From the creamy layers to the finishing touches, every detail is covered. You’ll also find helpful tips and creative serving ideas to make your creation truly stand out. Ready to impress your family and friends? Let’s get started!
Key Takeaways
- Learn how to make a no-bake dessert that’s both simple and delicious.
- Follow detailed instructions for a foolproof result every time.
- Discover creative ways to serve and customize your dessert.
- Enjoy a treat that’s perfect for gatherings or special occasions.
- Save time with a recipe that requires minimal effort but delivers maximum flavor.
Introduction and Background
Every great dessert has a story, and this one is rooted in tradition and creativity. The origins of this treat trace back to the early 20th century, when bakers began experimenting with tropical flavors like pineapple and banana. Over time, these experiments evolved into the layered masterpiece we know today.

What makes this dessert so special is its unique combination of textures and flavors. The creamy layers, paired with the sweetness of crushed pineapple and the tang of cherries, create a harmonious balance. It’s no wonder this treat has become a favorite at family gatherings and celebrations.
The Origins of the Banana Split Cake
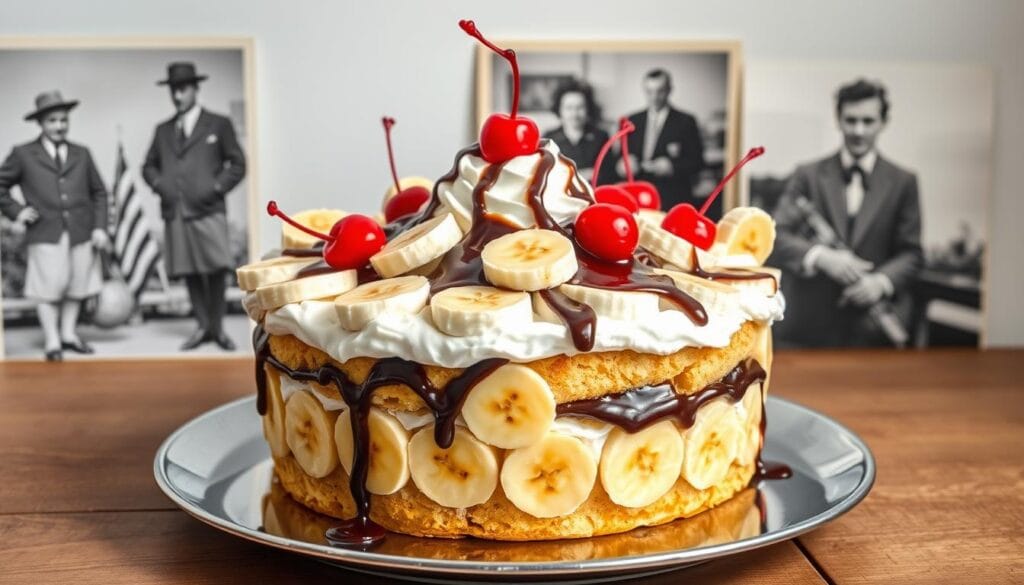
This dessert draws inspiration from the classic banana split, which was first created in 1904. Bakers took the idea of combining fruits and cream and transformed it into a no-bake delight. The result is a dessert that’s as fun to make as it is to eat.
Over the years, home cooks have added their own twists, incorporating ingredients like pineapple and cherries to enhance the flavor. This creativity has kept the recipe fresh and exciting, ensuring its place in modern kitchens.
Why You’ll Love This Recipe
One of the best things about this dessert is its simplicity. With just a few ingredients, you can create a stunning split cake that’s perfect for any occasion. The layers of fruit and cream not only taste amazing but also make for a beautiful presentation.
Whether you’re hosting a party or simply treating yourself, this recipe is sure to impress. Its blend of flavors and textures offers something for everyone, making it a timeless favorite.
Ingredients and Supplies
Gathering the right ingredients and tools is the first step to creating a dessert masterpiece. Whether you’re a seasoned baker or a beginner, having everything prepared ensures a smooth and enjoyable process. Below, you’ll find a detailed list of what you’ll need to bring this treat to life.
Essential Ingredients
To build the layers of this dessert, you’ll need a mix of classic and flavorful components. Here’s what to include:
- 1/2 cup unsalted butter (softened)
- 2 cups graham cracker crumbs (about 14 full-size crackers)
- 8 ounces cream cheese (softened)
- 1 cup confectioners’ sugar
- 20 ounces crushed pineapple (drained)
- 4 ripe bananas (sliced)
- 8 ounces whipped topping (thawed)
- 16 ounces maraschino cherries (drained)
- 1 1/2 cups chopped pecans
For a twist, you can substitute graham crackers with vanilla wafers and butter with margarine. These alternatives offer a unique flavor while maintaining the dessert’s signature texture.

Kitchen Tools Required
Having the right tools on hand makes the process efficient and enjoyable. Here’s what you’ll need:
- 9×13-inch pan for assembling the layers
- Mixing bowls for combining ingredients
- Measuring cups and spoons for precise amounts
- Electric mixer for creamy consistency
- Spatula for spreading layers evenly
Each ingredient plays a role in the final flavor and texture. For example, the graham cracker crumbs create a sturdy base, while the whipped topping adds a light, airy finish. Proper mixing and chilling ensure the layers set perfectly.
Banana Split Cake Recipe: Your Ultimate Guide
Creating a dessert that’s both easy and impressive is a skill worth mastering. This guide walks you through every step, ensuring your final creation is as delightful as it is beautiful. Let’s dive into the process!
Preparing the Crust and Cream Cheese Layer
Start by making the crust. Combine graham cracker crumbs with melted butter or margarine. Press this mixture firmly into a 9×13-inch pan to form a solid base. This step is crucial for a sturdy foundation.
Next, prepare the cream cheese layer. Beat softened cream cheese with confectioners’ sugar until smooth. Spread this creamy mixture evenly over the crust. The sweetness of the sugar balances the tanginess of the cheese, creating a perfect harmony.
Layering Bananas, Pineapple, and Toppings
Now, it’s time to add the fruit. Slice ripe bananas and layer them over the cream cheese mixture. Follow this with drained crushed pineapple for a burst of tropical flavor. These ingredients add both texture and taste.
Top the fruit with a generous layer of whipped cream. This adds a light, airy finish to the dessert. Finally, sprinkle maraschino cherries and chopped pecans for a pop of color and crunch.
Chilling and Final Touches
Once assembled, chill the dessert for at least 1 to 4 hours. This allows the layers to set and the flavors to meld together. Proper chilling ensures every bite is perfectly balanced.
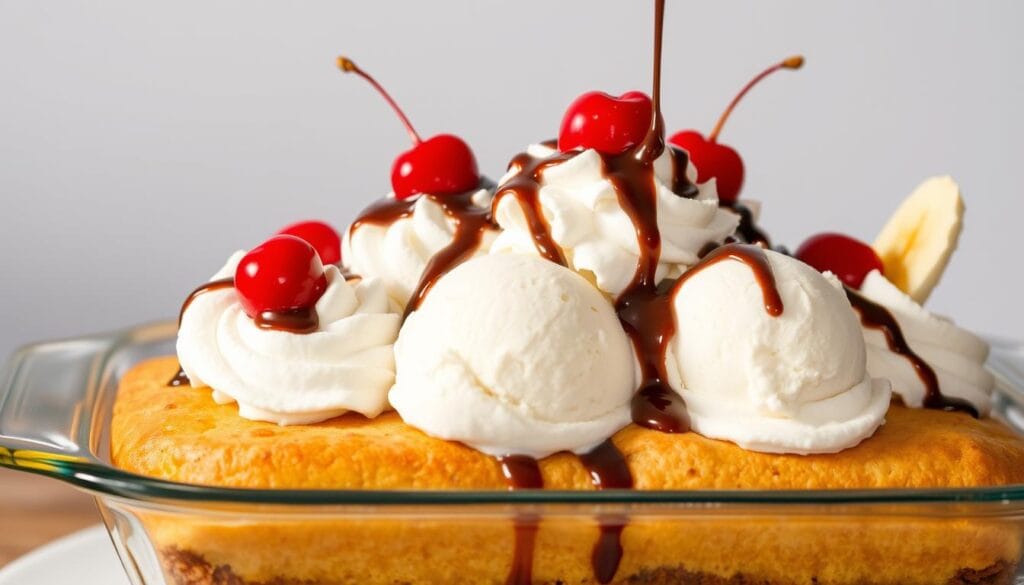
Before serving, add a few extra cherries or a drizzle of chocolate for a finishing touch. Your dessert is now ready to impress!
Tips and Tricks for the Perfect Cake
Personalizing your dessert can make it even more special and unique. With a few simple tweaks, you can transform this treat into something that perfectly suits your taste. Here are some expert tips to help you customize and perfect your creation.
Customizing Flavors and Substitutions
One of the best things about this dessert is its versatility. You can easily swap ingredients to match your preferences. For example, try using margarine instead of butter for a lighter crust. If you’re looking to reduce fat, opt for low-fat cream cheese or whipped topping.
Experiment with different fruits and nuts to add variety. Instead of maraschino cherries, try fresh strawberries or raspberries. Chopped almonds or walnuts can replace pecans for a different crunch. These small changes can make a big difference in flavor and texture.
Timing is also key. Make sure to chill the dessert for the right amount of time to let the layers set properly. When mixing ingredients in a bowl, aim for a smooth consistency to ensure even layers.
Presentation and Serving Ideas
How you present your dessert can make it even more appealing. Layer the top ingredients neatly for a polished look. A drizzle of chocolate or caramel adds a touch of elegance. You can also serve individual portions in small glasses for a modern twist.
Here are a few creative ideas to try:
- Use different types of cheese for a unique flavor profile.
- Add a sprinkle of sea salt to balance the sweetness.
- Garnish with fresh mint leaves for a pop of color.
Don’t be afraid to experiment and make the recipe your own. Whether you’re adjusting the sweetness or trying new toppings, these tips will help you create a dessert that’s truly one-of-a-kind.
Nutritional Information and Serving Suggestions
Understanding the nutritional value and presentation of your dessert can make it even more enjoyable. Knowing what goes into each bite helps you indulge responsibly while still savoring every moment. Here’s a breakdown of the nutritional facts and some creative ways to serve your creation.
Detailed Nutrition Facts
This dessert offers a delightful balance of flavors and textures, but it’s also helpful to know its nutritional content. Below is a comparison of two versions of this treat:
| Nutritional Aspect | Version 1 | Version 2 |
|---|---|---|
| Calories | 748 | 644 |
| Fat | 46g | 38g |
| Carbohydrates | 79g | 76g |
| Protein | 12g | 5g |
These values can vary slightly depending on the ingredients you use. For example, substituting chopped walnut for pecans can add a different nutritional profile. Always consider portion sizes to enjoy this treat in moderation.
Creative Serving Ideas
Presentation plays a big role in making your dessert stand out. Here are some fun and easy ways to serve it:
- Use extra topping like fresh berries or a drizzle of chocolate for added flair.
- Layer sliced fruits like strawberries or kiwi for a colorful and refreshing touch.
- Serve individual portions in small glasses or jars for a modern twist.
Chilling the dessert for at least one hour ensures the layers set perfectly. This also enhances the flavors, making every bite even more enjoyable. Whether you’re hosting a party or enjoying a quiet treat, these serving ideas will make your dessert unforgettable.
Conclusion
Creating this delightful treat is a fun and rewarding experience. With its layers of creamy textures and fruity flavors, it’s a dessert that’s sure to impress. The process is simple, making it perfect for both beginners and seasoned bakers.
Customizing the recipe is easy. Swap ingredients like nuts or fruits to match your taste. Add a sprinkle of creativity to make it your own. The nutrition benefits, like a boost of vitamins and protein, make it a wholesome choice.
Serve it at gatherings or enjoy it as a special treat. Share your creation with loved ones and make it a part of your dessert recipes collection. Experiment, have fun, and let your kitchen adventures shine!
FAQ
Can I use fresh pineapple instead of canned?
Yes, you can! Fresh pineapple works just as well. Just make sure to chop it into small pieces and drain any excess juice to avoid a soggy crust.
How long should I chill the dessert before serving?
It’s best to chill it for at least an hour. This allows the layers to set and makes it easier to slice and serve.
Can I substitute the whipped topping with something else?
Absolutely! You can use homemade whipped cream or a non-dairy alternative if you prefer. Just ensure it’s stable enough to hold the layers.
What’s the best way to store leftovers?
Keep it covered in the refrigerator for up to 3 days. Use an airtight container to maintain freshness and prevent it from absorbing other odors.
Can I make this recipe ahead of time?
Definitely! It’s a great make-ahead dessert. Prepare it the night before and let it chill overnight for the best results.
Are there any nut-free options for this recipe?
Yes, simply omit the chopped walnuts or replace them with crushed graham crackers for a nut-free version.
How can I make this dessert healthier?
Use low-fat cream cheese, sugar-free pudding mix, and a light whipped topping. You can also add more fresh fruit for extra nutrition.
Can I use a different type of fruit?
Of course! Strawberries, kiwi, or even mango can be delicious alternatives. Just ensure the fruit is fresh and well-drained.


3 thoughts on “How to Make the Perfect Banana Split Cake at Home”
Comments are closed.